News
How to Trim Trees for Wildfire: A Simple Guide
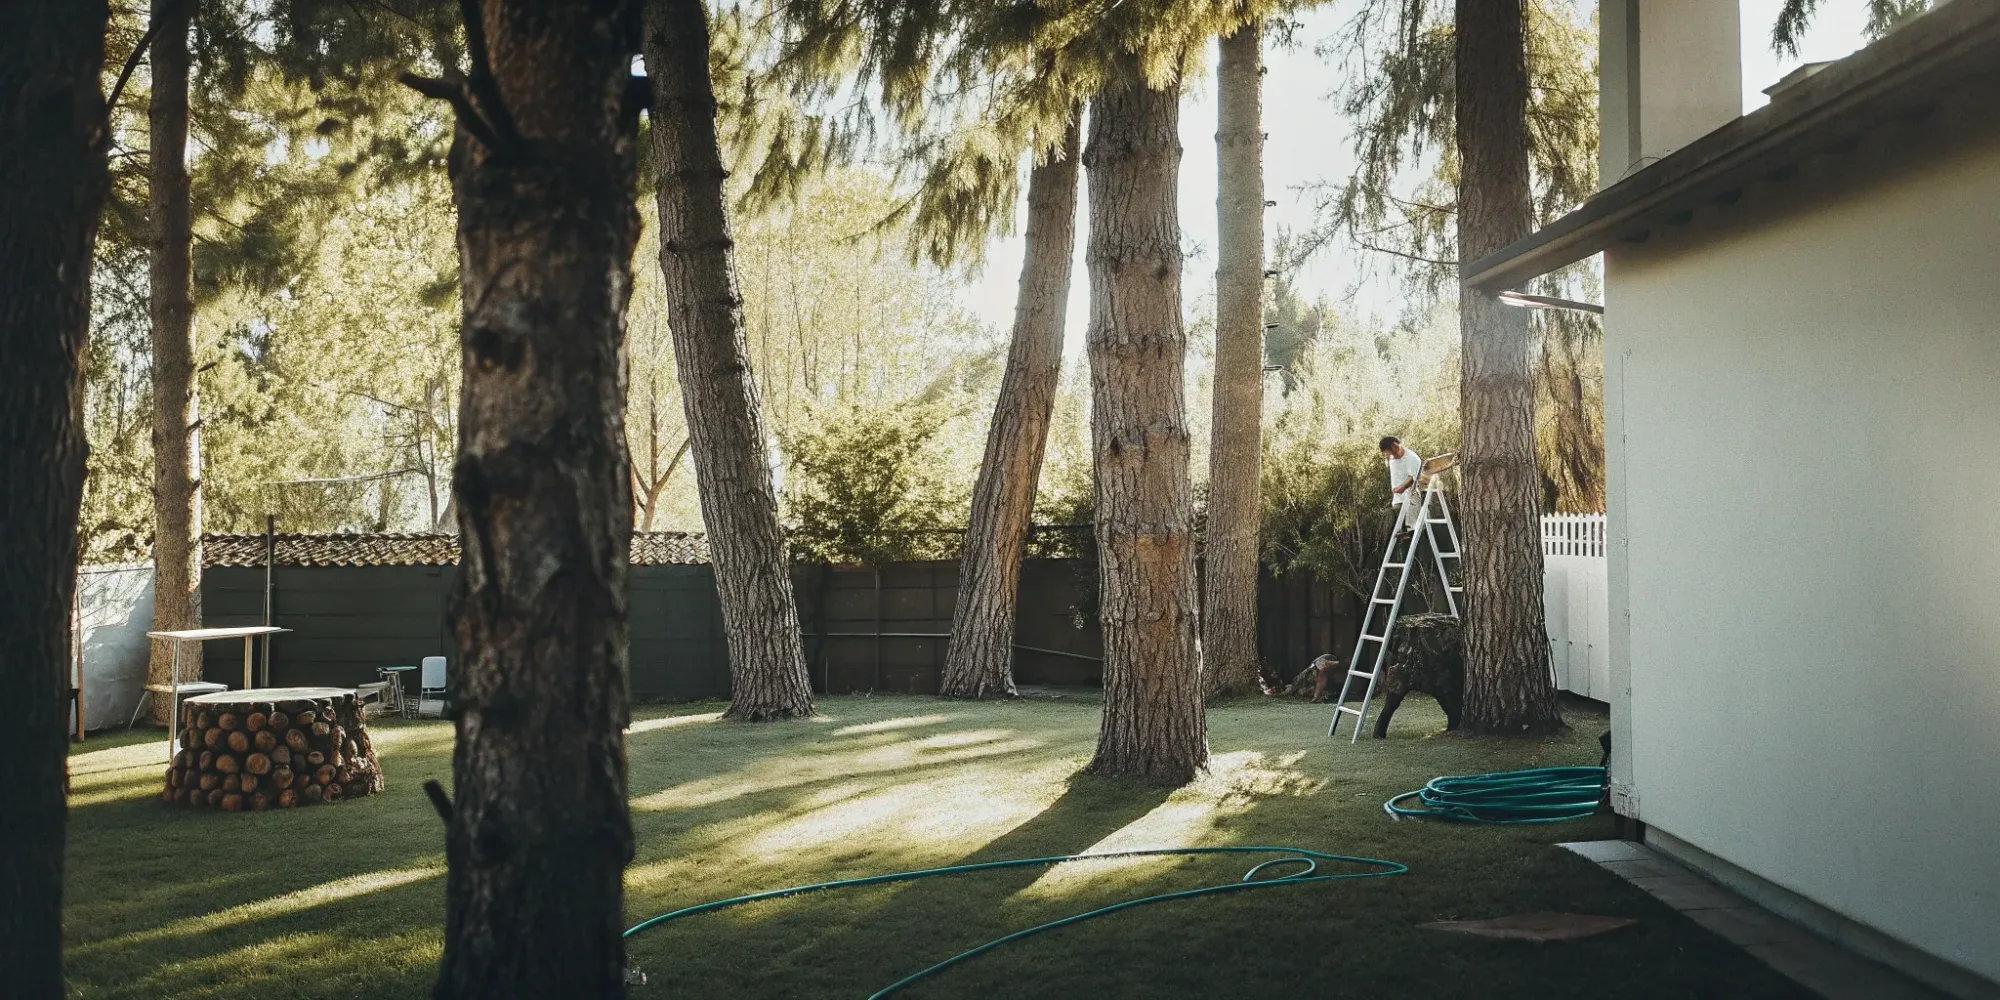
Getting that non-renewal notice from your insurance company can be a gut punch. Suddenly, the beautiful trees you’ve always loved are seen as a liability. The good news? You have the power to change that narrative. This guide is all about action. We'll show you how to trim trees for wildfire safety, not just for your peace of mind, but to address the specific concerns of insurance assessors. Learning the right techniques to reduce fuel loads and create a defensible space shows you're proactively managing risk—and that can make all the difference in keeping your home protected and insured.
CTA ButtonKey Takeaways
- Focus on creating fire-safe zones: Prioritize removing dead branches and trimming lower limbs to create at least six feet of clearance from the ground. This simple step helps prevent ground fires from climbing into the treetops and threatening your home.
- Master the right cuts for tree health: A clean cut just outside the branch collar helps your tree heal quickly and stay strong. For heavy limbs, always use the three-cut method to prevent tearing the bark and creating a larger, more vulnerable wound.
- Recognize when to call a professional: Your safety always comes first. If a job involves large limbs, working at height, or proximity to power lines, hiring a certified arborist is the smartest and safest decision you can make.
Why Bother Trimming Your Trees?
Before you pick up a single tool, it’s important to understand that trimming is a conversation with your trees. It’s not just about hacking away at branches; it’s about knowing what they need to stay healthy and what your property needs to stay safe. Getting these basics right from the start makes the whole process less intimidating and far more effective. When you know the why, what, and how behind each cut, you can work with confidence to create a yard that’s both beautiful and resilient against wildfire.
How Trimming Keeps Your Home and Family Safe
Trimming your trees is one of the most powerful things you can do to protect your home from wildfire. It’s all about creating what fire professionals call "defensible space"—a buffer zone around your house that can slow a fire down and give firefighters a chance to do their work. By strategically trimming and pruning, you remove the low-hanging branches and dense vegetation that act as "ladder fuels," which can carry flames from the ground up into the tree canopy. This simple act can prevent a small ground fire from turning into an inferno that threatens your roof. It’s not about clear-cutting your yard, but about smart, targeted maintenance that makes a huge difference.
What Makes a Cut Healthy for Your Tree?
Making the right kind of cut is everything. A good cut helps the tree heal quickly, while a bad one can invite disease and pests. The secret is to find the "branch collar," which is the slightly swollen area where a branch meets the trunk. You want to make your cut just outside this collar, without leaving a long stub behind. This technique allows the tree to naturally seal the wound. Think of it like surgery—a clean incision heals better than a jagged tear. Learning to identify the branch collar is the single most important skill for proper pruning, ensuring your trees stay strong and healthy long after you’ve put the saw away.
A Quick Look at How Trees Grow and Heal
It’s easy to think of trees like hair—that they need regular trims to look good. But trees are different. They don't necessarily need to be pruned every year, and in fact, over-pruning can stress them out and cause weak, frantic growth. The goal of trimming isn't just to make things look tidy; it's to improve the tree's structure, remove hazards, and create safe clearance around buildings and power lines. A little bit of strategic pruning goes a long way. By understanding that less is often more, you can help your trees grow stronger and more resilient without doing unintentional harm. It’s about working with the tree’s natural growth patterns, not against them.
Get the Right Tools for the Job
Before you make a single cut, let's talk about tools. Using the right equipment not only makes tree trimming easier and more effective, but it’s also a huge part of keeping yourself safe. Think of it like cooking—you wouldn't try to chop an onion with a butter knife. Having the proper tools on hand means you can make clean cuts that help your trees heal properly, all while protecting yourself from injury. Let's walk through the essentials you'll want in your shed.
Your Go-To Hand Tools for Small Branches
For the more delicate work, hand tools are your go-to. Grab a pair of hand pruners for any branches up to an inch thick; they’re perfect for precise snips that won’t damage the surrounding growth. When you encounter slightly thicker branches, from one to one-and-a-half inches, it’s time to switch to lopping shears. These long-handled tools give you the extra leverage you need for a clean cut. Using the right manual pruning tools is key to maintaining the tree’s health and structure, which is a cornerstone of creating a fire-safe landscape around your home.
When to Use Power Tools for Big Jobs
Once you get to branches thicker than one-and-a-half inches, you’ll need more power. This is where saws come into play. A good pruning saw can handle most medium-sized limbs with ease. However, it’s just as important to know your limits. If you’re looking at a branch that’s over four inches thick, or if it’s located in a tricky spot near your home or power lines, it’s time to step back. For these bigger, more dangerous jobs, calling a certified arborist is the safest and smartest move. They have the training and equipment to remove large limbs without risking damage to your property or yourself.
Don't Forget This Essential Safety Gear
Let’s be clear: safety is not optional. Before you even think about starting, make sure you have the right protective gear. This means sturdy gloves to protect your hands, safety glasses to shield your eyes from flying debris, and closed-toe shoes. It’s also a great idea to have someone nearby, especially if you’re using power tools. For reaching higher branches, a quality pole saw is one of the best investments you can make. It allows you to keep your feet safely on the ground instead of balancing on a ladder, making the entire process safer and more efficient.
When Is the Best Time to Trim Your Trees?
Timing is everything, especially when it comes to trimming your trees. Cutting at the right time helps your trees heal faster and keeps them healthy, which is a huge part of maintaining a fire-safe property. While some trimming can happen any time you spot a hazard, major pruning is best saved for a specific window. Planning your trimming schedule around the seasons and daily weather will give you the best results and keep your yard safe and resilient.
Why the Season Matters for Tree Health
The best time to prune most trees is during their dormant season, typically in late fall or winter after the leaves have dropped but before new buds appear in the spring. Think of it as giving the tree a haircut while it’s resting. Trimming during dormancy is less stressful for the tree, and without leaves in the way, you get a much clearer view of the branch structure. This makes it easier to spot weak spots or branches that are growing too close together. Planning your major trims for this "off-season" helps the tree conserve energy for a healthy growth spurt in the spring.
Avoid Attracting Pests During Warmer Months
Another great reason to stick to winter pruning is to avoid unwanted guests. When you trim a tree during warmer months, the fresh, open cuts release a scent that can attract insects. These bugs aren't just a nuisance; they can carry diseases or cause infestations that weaken your tree from the inside out. A stressed or sick tree is more likely to have dead branches, which become dry fuel for a wildfire. By pruning when the tree is dormant and most insects are inactive, you give the wounds a chance to start healing before pest season kicks into high gear, helping to protect it from potential harm.
Get a Clearer View of the Tree’s Structure
Working on a leafless tree is like having an X-ray of its structure. In the winter, you can clearly see the tree’s "skeleton"—every branch, fork, and potential problem area is laid bare. This unobstructed view makes it much easier to spot dead or damaged limbs that need to be removed, identify branches that are crossing or rubbing against each other, and make strategic cuts to improve the tree's overall shape and strength. This clarity is essential for creating defensible space, as it allows you to precisely trim branches that are too close to your roof or other structures without the guesswork that comes with a full canopy.
Know the Exceptions for Certain Fruit Trees
While the "prune in winter" rule holds true for most trees, there are a few notable exceptions, especially when it comes to fruit trees. For example, trees like apricots and cherries are often best pruned in late summer, after they’ve finished fruiting. Pruning them in the wet winter months can leave them vulnerable to certain fungal and bacterial diseases that can spread quickly in damp conditions. If you have fruit trees on your property, it’s always a good idea to research the specific needs of that variety to ensure you’re helping, not hurting, its health and productivity.
Warning Signs That a Tree Needs Trimming Now
While the dormant season is ideal for a major prune, you shouldn’t wait if you see an immediate problem. You should always remove dead or diseased branches as soon as you spot them, no matter the time of year. These branches are not only a threat to the tree’s health, but they are also serious fire hazards. Dead wood acts like kindling in a wildfire, providing easy fuel for flames to climb from the ground into the tree’s canopy. Regularly scanning your trees for these warning signs and acting quickly is a simple but critical step in reducing your property’s wildfire risk.
Check the Weather Before You Start
Even in the right season, the daily weather matters. Try to avoid trimming during periods of extreme heat or drought. Pruning in very hot weather can stress the tree and even cause a "sunburn" on newly exposed bark, which can lead to damage or disease. On the other hand, if harsh winter conditions like heavy snow or ice make it unsafe to work, it’s better to wait. The goal is to create a safer home, so don't risk your own safety to get it done. You can always adjust your seasonal action plan and schedule the work for early spring before new growth begins.
Which Branches Should You Cut?
Before you make a single cut, it’s important to have a clear plan. Knowing which branches to target is the key to effective trimming, turning a simple chore into a powerful fire-prevention strategy. This isn’t about randomly shaping the tree for looks; it’s about making strategic cuts that improve its health and make your property significantly safer from wildfire. Think of yourself as a tree surgeon, carefully removing only what’s necessary to protect the whole organism and, by extension, your home.
Every branch you remove should have a purpose. Are you getting rid of dead fuel? Improving the tree's structural integrity so it can withstand high winds? Creating more space between the tree and your house? By focusing on specific types of branches—the dead, the damaged, and the poorly placed—you’ll get the biggest safety benefit while putting the least amount of stress on the tree. This targeted approach ensures your efforts are both efficient and effective, helping you create a more resilient landscape that’s better prepared for wildfire season. The following steps will help you identify exactly which branches need to go.
Start with the 3 D's: Dead, Damaged, and Diseased
This is your top priority. Deadwood is like a pile of kindling just waiting for an ember. These branches are dry, brittle, and serve as the perfect fuel to carry a fire up into the canopy. You can usually spot them easily—they won’t have leaves during the growing season, the bark might be peeling off, or you might see fungus growing on them. Damaged branches from storms or disease are just as risky. Regularly eliminating dead branches is one of the most effective things you can do to reduce fire hazards. Removing them not only cleans up the tree’s appearance but, more importantly, removes a direct threat from your yard.
How to Identify a Dead or Dying Tree
Sometimes it’s obvious a tree is in trouble, but other times the signs are more subtle. Take a walk around your property and look closely for a few key indicators of a distressed tree. Are there large, bare branches in the canopy when other similar trees are full of leaves? Is the bark peeling away in big patches, exposing the wood underneath? You might also notice fungus growing at the base of the trunk or see an unusual number of dry, brittle limbs on the ground. These are all signs that a tree is struggling. A dead or dying tree is a significant fire hazard, acting as potent fuel that can help a wildfire spread much faster, so it's critical to address the issue right away.
Look for Weak Attachments and Poor Shapes
A healthy tree has a strong, balanced structure. Look for branches that form a tight, V-shaped angle with the trunk. These attachments are weak and more likely to break off during high winds or under the weight of snow, adding to the fuel load on the ground. You’ll also want to trim branches that are growing downward or look too long and heavy for their diameter. These limbs put unnecessary stress on the tree. Taking care of these structural issues is a fundamental part of fire prevention and safety. A well-structured tree is a more resilient tree, better equipped to withstand the elements.
Spot Branches That Cross or Rub Together
Branches shouldn't be fighting for the same space. When two branches cross and rub against each other, the friction wears away the protective bark. This constant rubbing creates open wounds that can invite pests and diseases, which weaken the entire tree and lead to more deadwood down the line. Your goal is to choose the healthier of the two branches and remove the other. While you’re looking, also keep an eye out for any branches that overhang your roof or other structures. These act as a direct ladder for fire, so it’s critical to remove branches that overhang structures to maintain a safe distance.
Handle Pest-Infested Trees Immediately
Beyond just looking for poorly shaped branches, you need to keep an eye out for signs of sickness. Trees battling pests or diseases are already weak, making them more likely to die and become dry, hazardous fuel. If you notice unusual leaf discoloration, sawdust-like material at the base of the trunk, or small holes in the bark, don't wait. Acting quickly is essential for protecting the rest of your landscape. According to fire officials, it is crucial to address trees that have bugs or diseases promptly. Removing them stops the infestation from spreading to your healthy trees, which helps maintain the overall resilience of your property’s defensible space and prevents a small problem from turning into a major fire risk.
Properly Dispose of Infested Wood
Once you’ve cut down infested branches or an entire tree, your work isn’t finished. How you get rid of the wood is just as important as removing it in the first place. Simply piling it up elsewhere on your property can allow pests to crawl or fly to nearby healthy trees, continuing the cycle of damage. To contain the threat, you must dispose of the wood properly. Firewood can easily transport pests, so it's best not to move it far from where you intend to burn it. When you remove wood from trees with pests, make sure to keep it isolated and consider chipping it or taking it to a designated disposal facility to ensure the pests are fully eliminated.
How to Make the Perfect Cut Every Time
Once you’ve identified which branches need to go, it’s time to make the cut. Proper technique isn’t just about getting the branch off the tree; it’s about doing it in a way that helps the tree heal quickly and stay healthy. A clean, well-placed cut minimizes stress and prevents disease, which is key to maintaining strong, fire-resistant trees on your property. These core techniques will help you prune like a pro and protect your trees from long-term damage.
How to Use the Three-Cut Method on Large Limbs
When you’re dealing with heavy branches, you can’t just saw through them in one go. The weight of the limb will cause it to fall before the cut is complete, tearing a strip of bark down the trunk and creating a large, nasty wound. To avoid this, use the three-cut method to safely remove large limbs. Start by making an undercut a foot or two from the trunk, about a third of the way through the branch. Next, make a second cut from the top, a few inches out from the first cut, to remove the bulk of the branch's weight. Finally, make your third and final cut just outside the branch collar for a clean finish.
Why Finding the Branch Collar Is So Important
Your final cut is the most important one for the tree’s health. To get it right, you need to locate the branch collar—the slightly swollen area where the branch meets the trunk. This collar contains specialized cells that will heal over the wound. You want to cut just outside of it, angling your saw away from the trunk. Cutting too close (a flush cut) removes the collar and creates a larger wound that the tree can't easily seal. Leaving too long of a stub invites pests and decay. Getting this angle right helps the tree compartmentalize the wound and heal properly, keeping it strong and resilient.
Make Clean Cuts to Protect the Bark
The quality of your tools directly impacts the health of your tree. Dull or dirty blades will crush or tear wood fibers, creating ragged wounds that are slow to heal and become entry points for diseases. Before you start, make sure your pruning tools are sharp and clean. Using the right tool for the job is also essential. Small hand pruners are for twigs, loppers are for small branches, and a pruning saw is for larger limbs. A clean cut minimizes damage to the surrounding bark and allows the tree to seal the wound efficiently, reducing the risk of infection and ensuring a quick recovery.
Common Tree Trimming Mistakes to Avoid
When it comes to trimming trees, your good intentions can sometimes do more harm than good. A few common missteps can weaken your trees, making them more vulnerable to disease, pests, and even fire. Knowing what not to do is just as important as knowing the right techniques. Let’s walk through some of the biggest mistakes homeowners make so you can keep your trees healthy, strong, and beautiful for years to come.
Why You Should Never "Top" a Tree
You may have seen trees with their entire tops bluntly chopped off. This practice, known as "topping," is one of the worst things you can do to a tree. It involves cutting away a huge portion of the tree's branches and leaves, which are essential for creating food through photosynthesis. Topping essentially starves the tree, leaving it weak and susceptible to pests and disease. It also creates ugly, fast-growing shoots that are poorly attached and can easily break off in a storm. For wildfire safety, topping removes the very shade that helps keep the ground beneath it cool and moist. Proper tree pruning focuses on selective cuts, not amputation.
Don't Over-Prune: Stick to the 25% Rule
It can be tempting to get a little carried away with the loppers, but aggressive pruning can put a tree under serious stress. A good rule of thumb is to never remove more than 25% of a tree's living branches in a single year. If a tree needs significant work, it's much healthier to spread the pruning out over a few seasons. This gives the tree time to recover and adapt. Think of it like a haircut—a trim is healthy, but a buzzcut can be a shock to the system. Following this simple guideline for pruning helps ensure your tree stays resilient and vigorous.
Avoid Damaging the Tree with Bad Cuts
The way you make each cut matters. A sloppy cut can damage the tree and create an entry point for decay. Always locate the "branch collar," which is the slightly swollen area where a branch meets the trunk. You want to cut just outside this collar, without leaving a long stub. Stubs prevent the tree from properly sealing the wound, inviting rot. To avoid tearing the bark on larger limbs, use the three-cut method. Start with a small undercut a few inches from the trunk, then make your main cut from the top, a little further out. The final cut removes the remaining stub at the branch collar, leaving a clean wound that the tree can heal naturally.
How to Trim Trees for Wildfire Safety
When you live in a wildfire-prone area, trimming your trees isn't just about curb appeal—it's a critical part of your home's defense plan. The goal is to disrupt the path a fire could take to reach your house. Wildfires often spread by climbing "fuel ladders," which are continuous sources of fuel from the ground up into the treetops. This includes low-hanging branches, dense shrubs under trees, and dead foliage. By strategically trimming your trees, you can break up these fuel ladders and create a buffer, or defensible space, that slows a fire's spread and gives firefighters a safer space to work. It’s one of the most effective actions you can take to protect your property.
Which Trees Are the Biggest Fire Risks?
Not all trees are created equal when it comes to fire risk. Some species are more flammable than others due to their resin content, bark texture, and tendency to hold onto dead leaves and branches. Conifers like pines, firs, and junipers are often considered high-risk because their needles and sap can ignite easily. Start your trimming efforts by identifying these fire-prone plants on your property. Focus on removing all dead, dying, or weak branches from these trees, as this material acts like kindling for an approaching fire. Regular maintenance of these specific trees is a top priority for reducing your overall wildfire risk.
How to Create Defensible Space Around Your Home
Strategic pruning is all about creating separation between different fuel sources. One of the most important techniques is "limbing up," which means removing the lower branches of a tree to create space between the ground and the tree's canopy. For trees in the first 30 feet around your home, you should generally remove branches up to a height of 6 to 10 feet from the ground. This simple step helps prevent a ground fire from climbing into the treetops and becoming a much more dangerous crown fire. It’s a key part of creating a landscape that is lean, clean, and green—and much harder for a wildfire to burn through.
Zone 2: The Extended Defensible Space (30-100 feet)
As you move further from your house, into the area between 30 and 100 feet, the goal shifts slightly. This is your extended defensible space, or Zone 2. Here, you don't need to create a perfectly manicured lawn, but you do need to break up the continuous path of fuel that a wildfire could follow. Think of it as creating "islands" of well-maintained vegetation separated by areas of lawn, hardscaping, or bare ground. The main objective is to create a clear area where a fire's intensity will drop, making it less of a threat by the time it gets closer to your home. This means thinning out dense patches of trees and shrubs and keeping the grass mowed low.
Create Vertical Space to Stop Ladder Fuels
One of the most critical steps in wildfire prevention is eliminating "ladder fuels." These are low-hanging branches and shrubs that allow a ground fire to climb into the treetops, where it can become much more intense and harder to control. To break this ladder, you need to create vertical space. Start by removing all tree branches that are within six feet of the ground. If you have shrubs growing underneath a tree, the rule changes slightly: the lowest branches of the tree should be at least three times the height of the shrub. For example, if you have a two-foot-tall shrub, the nearest tree limb above it should be at least six feet higher. This tree pruning for fire prevention is a simple but powerful way to stop a fire in its tracks.
Adjust Tree Spacing for Slopes
Horizontal spacing between trees is just as important as vertical spacing. On flat ground, a good rule of thumb is to maintain at least 10 feet of clearance between the canopies of mature trees. This gap makes it much harder for a fire to jump from one treetop to the next. However, this distance needs to increase dramatically if your property is on a slope, because fire spreads much faster uphill. For a slight to medium slope, you should increase the spacing to 20 feet between canopies. On a steep slope, that distance should be at least 30 feet. Properly adjusting tree spacing for your property's specific terrain is a key detail that significantly reduces the risk of a catastrophic crown fire.
Maintain a Safe Distance from Your House
Distance is your friend during a wildfire. The area immediately next to your house, from zero to five feet out, is the most critical. This is the ember-resistant zone, and it should be completely free of flammable materials. Make sure no tree branches hang over your roof or come within 10 feet of your chimney. In the next zone, from five to 30 feet out, it's important to create space between individual trees. A good rule of thumb is to maintain at least 10 feet of clearance between the canopies of mature trees. This horizontal spacing prevents fire from jumping from treetop to treetop and moving closer to your home.
Know When to Call a Professional Arborist
Taking charge of your defensible space is empowering, but some tree trimming jobs are best left to the experts. Knowing when to put down the tools and pick up the phone is one of the most important skills you can have as a homeowner. Safety should always be your top priority, and there’s no shame in calling for backup when a task is beyond your comfort zone or equipment's capability. A professional arborist brings not only the right gear but also the experience to handle complex situations safely and efficiently, protecting both you and your property from unnecessary risks.
Think of it this way: a professional can assess a tree’s health, identify weak points you might miss, and use specialized equipment to tackle large limbs or trees in tricky spots. Trees that haven't been pruned correctly can become weakened and therefore hazardous over time, creating a new risk right in your yard. Hiring a pro isn't just about getting the job done; it's about investing in the long-term health of your trees and the safety of your home. Before you climb a ladder or start up a chainsaw, take a moment to honestly assess the situation. Your personal safety is far more valuable than any DIY savings.
Is the Job Too Big or Too High?
Whether you’re trimming a small shrub or a single low-hanging branch, safety gear is non-negotiable. Even a small mistake can lead to a serious injury. Always wear the right personal protective equipment to shield yourself from common hazards. This includes sturdy gloves to protect your hands from splinters and improve your grip, safety goggles to keep sawdust and debris out of your eyes, and a hard hat to guard against falling branches. It might feel like overkill for a small job, but a single falling limb or a tool that slips is all it takes to turn a quick task into a trip to the emergency room. Treat every cut with respect and gear up accordingly.
Recognize When You Need an Expert's Help
Trust your instincts. If you look at a tree and feel unsure or uncomfortable about trimming it, that’s a clear sign to call a professional. This is especially true for large trees, limbs that are high off the ground, or branches that hang over your roof or a neighbor’s property. A professional has the training and rigging equipment to remove heavy branches without damaging your home. If you’re not confident in your ability to make a branch fall exactly where you want it to, it’s time to get help. A certified arborist can handle the job safely and assess the tree’s overall health, giving you peace of mind.
Check for Local Permits Before Removing Trees
Before you fire up the chainsaw for any major tree removal, take a moment to check with your local government about permit requirements. It might feel like an annoying extra step, but many communities, especially in fire-prone areas, have specific rules for a reason. As the experts at CAL FIRE point out, you should always check if you need a permit before taking down trees, even dead ones. This isn't just about avoiding a fine; it’s about making sure your work aligns with broader community safety plans. And if you do hire a professional, this is one less thing to worry about—they’ll know the local regulations and can handle the permitting for you, ensuring the job is done right from start to finish.
Leave Trees Near Power Lines to the Pros
There are two situations where you should never attempt a DIY trim: working near power lines and performing extensive work from a high ladder. If any part of a tree is touching or even near a power line, do not go near it. The risk of electrocution is severe. Your local utility company will often trim these branches for free, so give them a call. Working with power tools on a ladder is also incredibly dangerous, as it’s easy to lose your balance. For any job that involves large trees, complex cuts, or proximity to power lines, hiring a professional isn’t just the smart choice—it’s the only safe one.
What to Do After You've Trimmed Your Trees
Once you’ve put down the saw and cleaned up the branches, your work isn’t quite finished. Proper aftercare is what ensures your trees recover well, stay healthy, and continue to be a fire-resistant asset to your property. Think of trimming as a necessary surgery for your trees; the post-op care is just as important as the procedure itself. A stressed or poorly healed tree can become weak, attract pests, and ultimately create a new fire hazard—exactly what you were trying to prevent.
Giving your trees a little attention after a trim helps them bounce back stronger. This involves keeping an eye on how they’re healing, watching for any red flags, and sticking to a simple maintenance routine. You don’t need to be a certified arborist to do this. Just a few minutes of observation every so often can make a huge difference in the long-term health and safety of your landscape. By following a few straightforward steps, you can help your trees heal properly and ensure your defensible space remains effective year after year.
Help Your Tree Heal After Pruning
It’s pretty amazing, but trees have their own way of healing. They don’t regenerate tissue the way we do; instead, they seal off wounds to prevent decay. When you make a proper cut, the tree forms a protective layer of tissue called a callus over the wound. This special wood acts like a natural bandage, compartmentalizing the injury and stopping diseases or pests from getting inside.
Your job is to make this process as easy as possible for the tree. That’s why making clean, angled cuts at the branch collar is so important—it gives the tree a perfect surface to form that callus. You should see a ring of callus tissue start to form around the cut during the first growing season. This is a great sign that your tree is healing itself effectively.
How to Spot Signs of Stress or Disease
After a trim, it’s a good idea to monitor your trees for any signs of trouble. Pruning is a form of stress, and sometimes trees can struggle to recover. Keep an eye out for symptoms like wilting or yellowing leaves when the weather isn’t overly dry, cracks in the trunk, or strange growths like mushrooms, which can indicate fungus.
These are all signals that your tree might be having a hard time. Catching these issues early gives you a chance to fix the problem before it gets worse. A stressed tree is more vulnerable to insect infestations and disease, which can weaken it and make it more flammable. If you notice any of these signs of stress, it might be time to consult a professional arborist for advice.
Watch for Falling Leaves, Bare Branches, and Peeling Bark
Your trees will often show you when something is wrong. Pay attention to the leaves—if you see a lot of them falling off outside of autumn, or if they look yellow and wilted even when it’s not particularly hot or dry, that’s an early warning sign. Look closer at the branches themselves. Are there large sections with no leaves during the growing season? That’s a classic sign of deadwood. Also, check the trunk for bark that is peeling away or falling off completely. These are all clear indicators that a tree is distressed. Any dry, brittle limbs that fall are not just yard waste; they are potent fuel for a wildfire, so it's important to address these issues promptly.
Your Simple Year-Round Tree Care Plan
The best way to keep your trees healthy after trimming is to have a consistent care plan. This doesn’t have to be complicated. A simple, year-round maintenance plan helps your trees stay resilient against pests, diseases, and drought.
Your plan should include a few key tasks each season. In the spring and summer, check for new deadwood and ensure your trees are getting enough water, especially during dry spells. In the fall, clear away fallen leaves and debris from the base of your trees to reduce fire fuel. In the winter, inspect the tree’s structure for weak spots while the branches are bare. This regular attention will keep your trees in great shape and your property safer from wildfire.
Related Articles
- How to Prepare for a Defensible Space Inspection
- Defensible Space Requirements: A Complete Guide
- Defensible Space Zones: A Homeowner's Guide
- Fire Clearance Requirements: What You Need to Know
- Your Guide to the CAL FIRE Defensible Space Map
Frequently Asked Questions
How often do I really need to trim my trees for fire safety? Think of it as two separate schedules. A major structural prune, where you're shaping the tree, is best done every few years during the dormant season. However, for fire safety, you should walk your property at least once a year to inspect for and remove any dead, dying, or diseased branches. This quick, regular maintenance is what keeps dangerous "ladder fuels" from building up.
Should I put pruning paint or sealant on the cuts to help them heal? That’s a common myth, but you should actually skip the sealant. Trees have a natural ability to seal off their own wounds by forming a protective callus. Using pruning paint can trap moisture and decay-causing fungi against the wood, which can interfere with this natural healing process and do more harm than good. A clean cut is the best medicine you can give a tree.
What’s the safest way to get rid of all the branches I’ve cut? Leaving a pile of trimmings in your yard creates a new fire hazard, so proper disposal is key. The best option is to chip the branches and use the wood chips as mulch in garden beds away from your home's immediate five-foot zone. You can also check with your local waste management service, as many have green waste collection programs specifically for this type of debris.
Will trimming my trees for defensible space make my yard look bare? Not at all, if it's done correctly. The goal of trimming for fire safety isn't to clear-cut your property. It’s about making smart, selective cuts that remove hazardous fuel while enhancing the tree's natural form. By removing lower limbs and thinning the canopy, you often create a more open, park-like feel that looks healthy and intentional, not sparse.
Can trimming my trees actually stop a major wildfire? While no single action can stop a large, wind-driven wildfire, trimming is one of the most effective things you can do to give your home a fighting chance. The goal is to create a defensible space that slows the fire's spread, reduces its intensity, and prevents flames from easily reaching your roof. This gives firefighters a much safer area to work in and can be the deciding factor in whether they can save your home.